
Vue CLIは、Vue.jsの開発を進めるためのツールです。
Vue CLIを使えば簡単にプロジェクトを作成、開発ができます。
事前準備:Node.jsをインストール
Vue CLIは、Node.jsを利用します。
そのため、Node.jsのインストールを行なっていることが必要です。
まだNode.jsをインストールしてない場合はNode.jsのインストールを完了してください。
Vue cli3のインストール
Vue CLIは、パッケージ管理ツール「npm」でインストールします。
npm install -g @vue/cliVue cli3のプロジェクトをセットアップ
次に、プロジェクトの作成を行います。
ターミナルなどのコマンドラインで以下のコマンドを入力します。
vue create my-project「my-project」は自分のプロジェクト名です。
次に、いくつかの質問がされるので、最初は以下のように選択してください。
? Please pick a preset:
  example (vue-router, vuex, stylus, babel, eslint, unit-mocha)
  default (babel, eslint)
❯ Manually select features

? Check the features needed for your project:
 ◉ Babel
 ◯ TypeScript
 ◯ Progressive Web App (PWA) Support
 ◉ Router
❯◉ Vuex
 ◯ CSS Pre-processors
 ◉ Linter / Formatter
 ◯ Unit Testing
 ◯ E2E Testing

? Use history mode for router? (Requires proper server setup for index fal
lback in production) (Y/n) y

? Pick a linter / formatter config: (Use arrow keys)
❯ ESLint with error prevention only
  ESLint + Airbnb config
  ESLint + Standard config
  ESLint + Prettier

? Pick additional lint features: (Press <space> to select, <a> to toggle a
ll, <i> to invert selection)
❯◉ Lint on save
 ◯ Lint and fix on commit

? Where do you prefer placing config for Babel, PostCSS, ESLint, etc.? (Us
e arrow keys)
❯ In dedicated config files
  In package.json

? Save this as a preset for future projects? (y/N) n
無事セットアップが完了したら、以下のようなコマンドの案内が出ますので、実行してください。
cd my-project
npm run serve
「npm run serve」を実行すると、ローカルホストのURLアドレスが出ますので、そのアドレスにアクセスしてください。
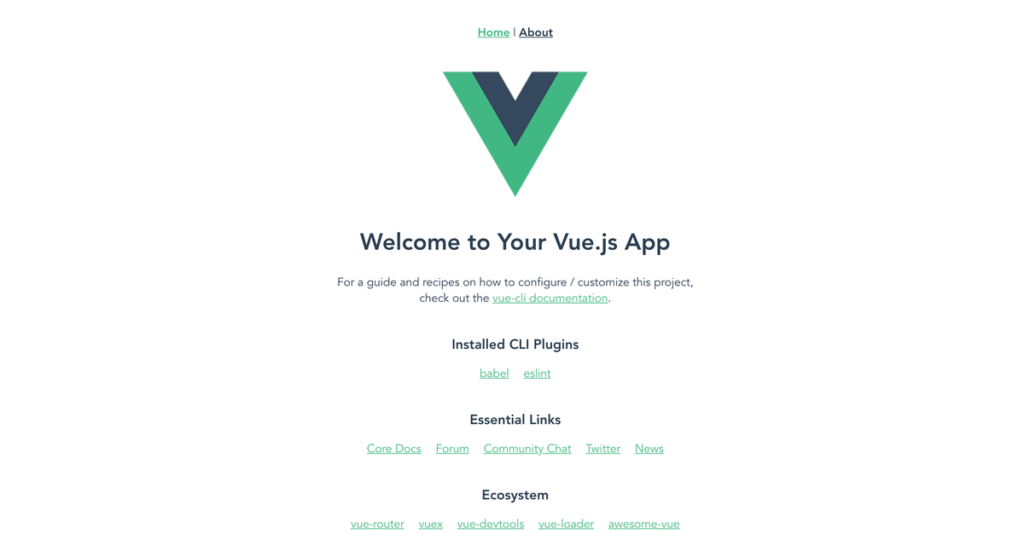
この画面がブラウザで表示されていれば成功です。
以上がVue Cli3のインストールとプロジェクトの設定でした。
初めは深く考えず、この記事で紹介した選択肢でセットアップしてください。
後々使っていけば意味もわかってきますし、その時に自分の好みに設定すれば良いと思います。


コメント